Thank you for visting. Below is the step by step guide to use gmail sign in option workflow.
Step 01. Go to login page and click sing in with google
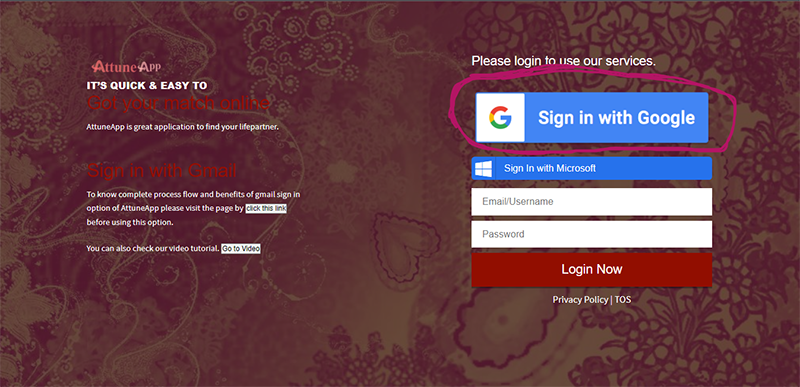
Step 02. After clicking you will redirected to the sign in page shown below.

Note: In this step AttuneApp only fetches email id from oauth to verify your identity.
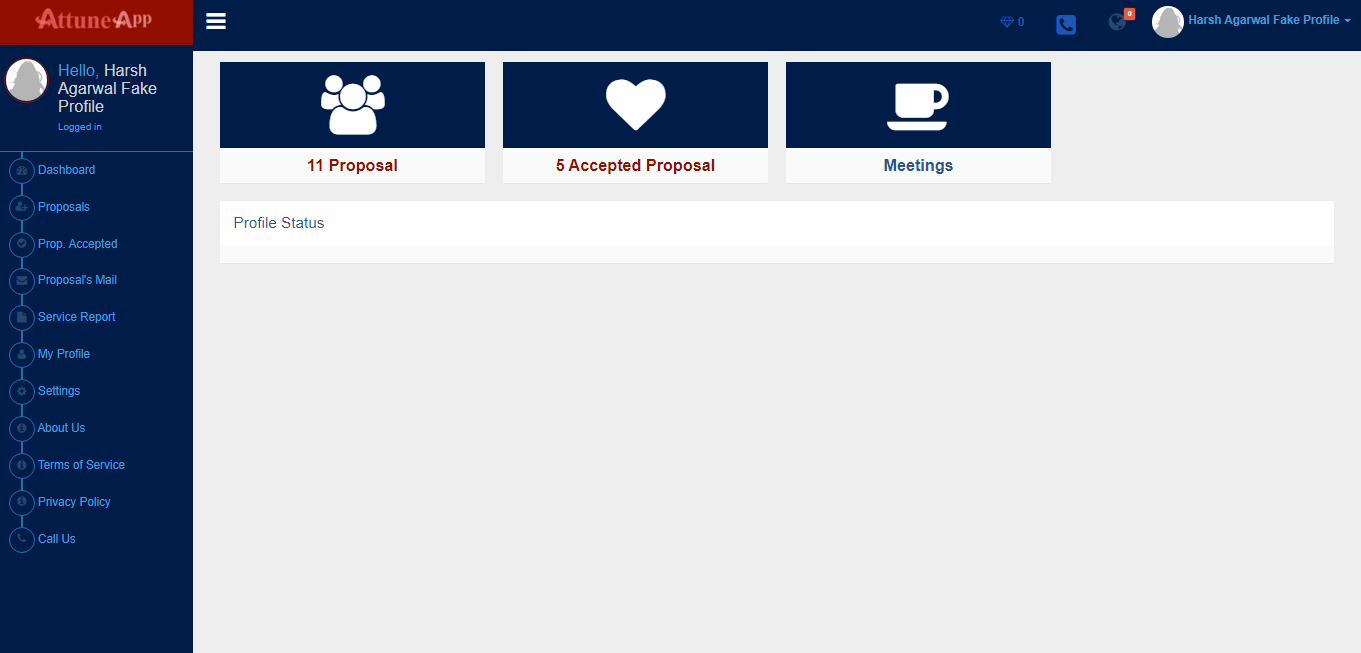
Step 03. After login you will be redirected to our dashboard, shown below.
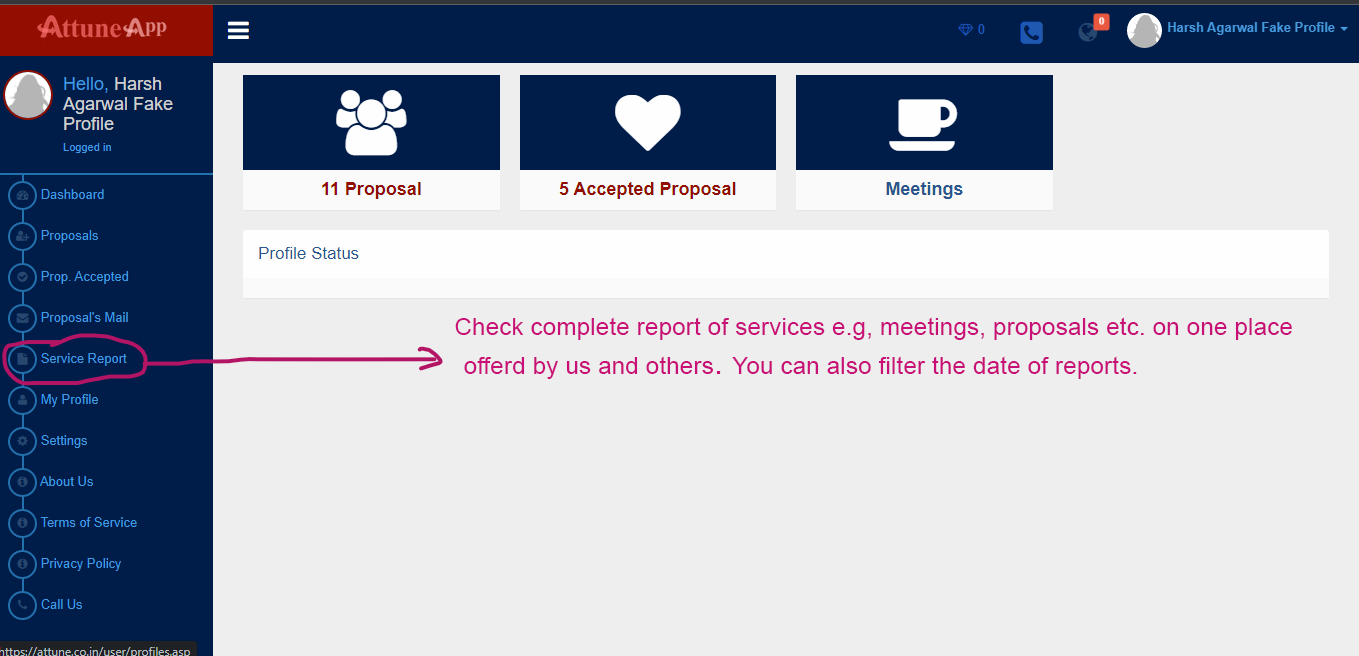
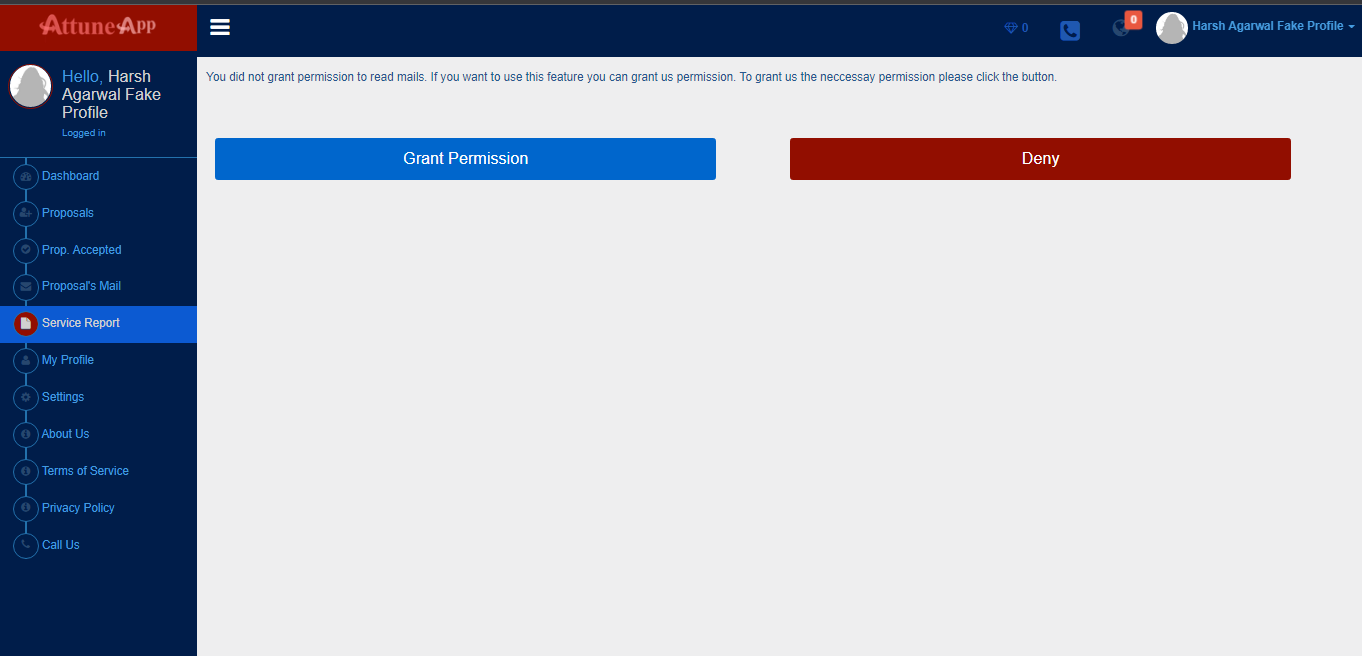
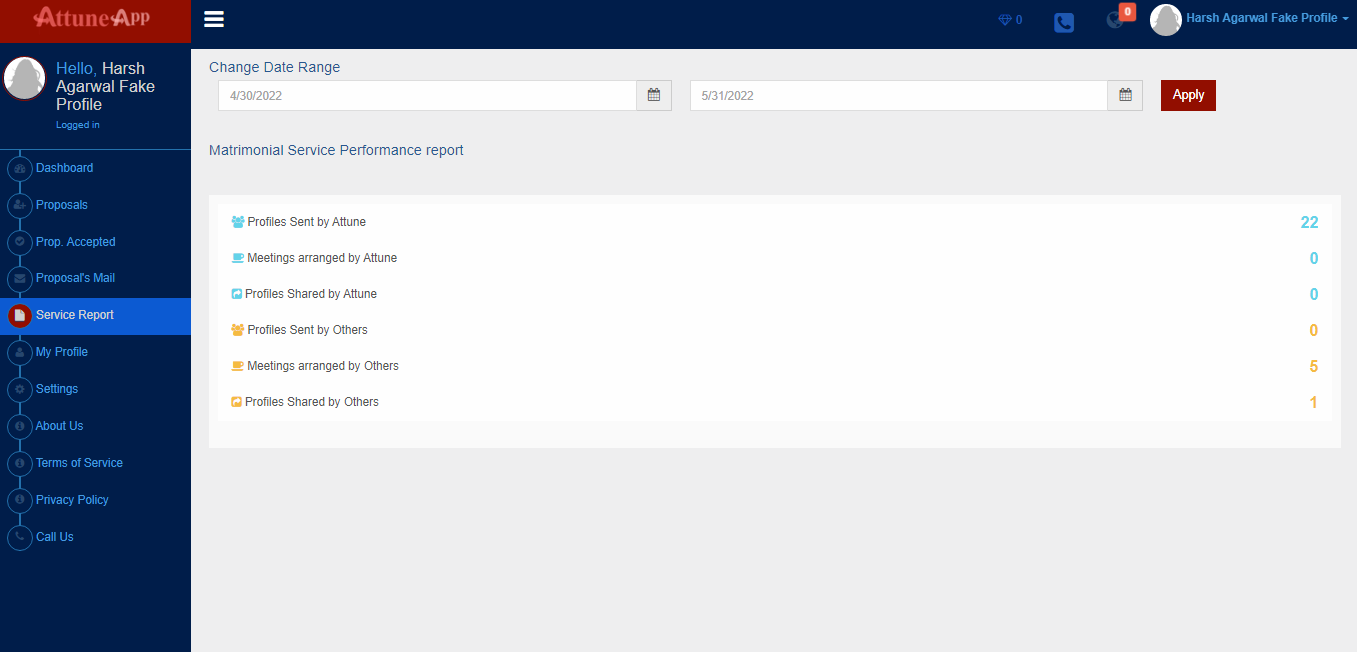
Step 04. Now if you want to use our new feature in which you can get the report for our services and comaparision with other service provider you can do it by going to "Service Report" section.

Step 05. If you click the "Service Report" section then you will see the page shown below. To use this feature we had to access your gmail's mailbox.You can Grant permission or Deny. If you Deny you will go back to dashboard and use our other features as usual. If you grant permission you will be redirected to gmail consent screen described in next step.

Step 06. After clicking Grant Permission button you will be at the page shown below. You can either Allow aor cancel.

Step 07. If you Allow AttuneMat to access then you will be redirected to the page shown below.

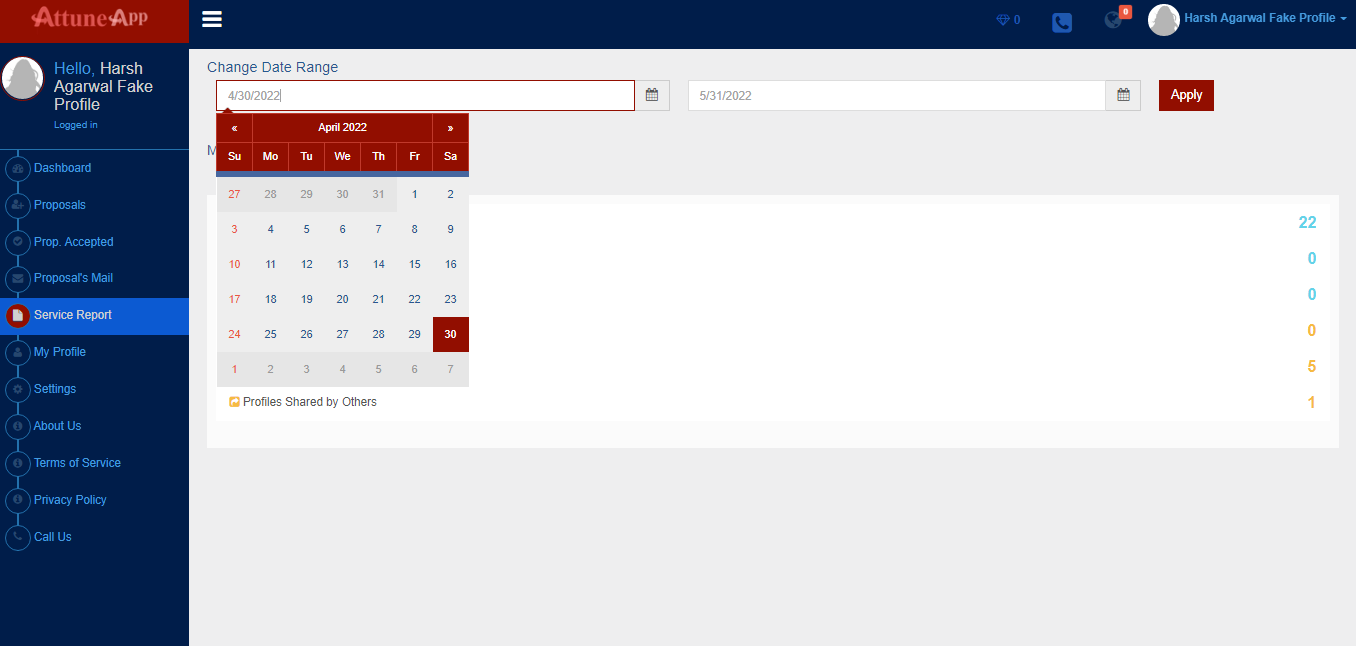
Step 08. You Can change the date range of reports modifying the dates.

Note: AttuneApp only fetches email when you open this section via server to server call. Attuneapp does not store your emails in any database or other formats to it's own server.